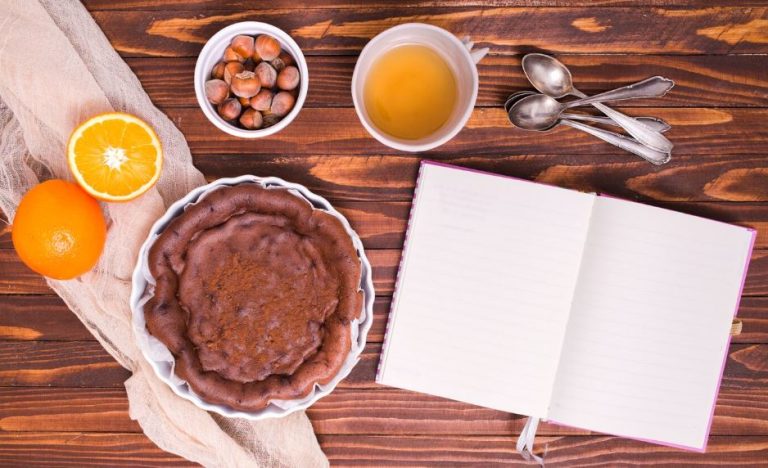
Many people get instant nostalgia when chocolate concrete is mentioned. Once a mainstay in British school cafeterias, this traditional delicacy is just as famous as the pink custard that is frequently served with it. Chocolate concrete is a dessert that has endured over time due to its unique crunchy texture and rich cocoa flavor. However, what makes this delicacy so unique, and how can you make it at home while maintaining its genuine flavor?
Chocolate Concrete: Recipe & Key Details
| Attribute | Details |
|---|---|
| Origin | UK School Cafeterias |
| Texture | Hard, Crunchy, Biscuit-like |
| Key Ingredients | Flour, Sugar, Cocoa Powder, Butter |
| Best Served With | Custard (Pink for Authenticity) |
| Difficulty Level | Easy |
| Time Required | 30-40 Minutes |
| Storage | Airtight Container for up to 5 Days |
| Calories Per Serving | Approximately 279 kcal |
| Popular Variations | Coconut, White Chocolate, Spiced Cocoa |
How to Make the Best Chocolate Concrete
Chocolate concrete, as the name suggests, is purposefully hard and brittle in contrast to conventional cakes. The secret to the distinctive crispness is the lack of rising ingredients like eggs or baking powder. Mixing melted butter, flour, sugar, and cocoa powder, then baking the mixture into a compact, firm slab that solidifies as it cools, is a very straightforward yet incredibly efficient approach.
The secret is to press the ingredients down firmly before baking and sprinkle the top with sugar while it’s still warm to get that real school-style crunch. This gives each mouthful a delightful sweetness in addition to enhancing the crispiness.
A Step-by-Step Guide to Making Chocolate Concrete
Ingredients:
- 300g (10.5 oz) plain flour
- 300g (10.5 oz) granulated sugar
- 60g (2 oz) cocoa powder
- 150g (5.5 oz) melted butter
- 1-2 tbsp water (for added crispness)
- Extra sugar (for dusting)
Method:
- Preheat oven to 160°C (320°F, Gas Mark 3). Grease and line an 8-inch square baking tray.
- Melt the butter in a saucepan over low heat or in the microwave.
- Mix flour, sugar, and cocoa powder in a large bowl.
- Pour the melted butter over the dry ingredients and stir well. The mixture should resemble coarse crumbs.
- Transfer to the baking tray, pressing it down firmly to compact the mixture.
- Lightly sprinkle with water and bake for 25-30 minutes.
- Remove from the oven and immediately sprinkle extra sugar on top for texture.
- Cut into squares while still warm, then allow to cool completely to set the classic crunch.
- Serve on its own or with pink custard for the ultimate nostalgic experience.
The Reasons Chocolate Concrete Is Durable
Why is chocolate concrete still a cherished classic in the constantly changing world of desserts? Its simplicity and adaptability hold the key to the solution. Chocolate concrete is a great recipe for both novice and experienced bakers since it is extremely forgiving, unlike many baked items that require exact amounts and careful skills.
It is also perfect for lunchboxes, snacks, or a quick sugar fix because of its lengthy shelf life, which keeps it crispy and delicious for days. Its classic appeal is enhanced by its hard, biscuit-like texture, which makes it ideal for dipping into tea or coffee.
Is the Pink Custard Debate an Afterthought or a Must?
For those who attended British schools, chocolate concrete and pink custard went hand in hand. But was it a peculiar custom or an essential addition? The strong chocolate flavor is counterbalanced by the custard’s gentle, creamy sweetness, which also softens the crunch for a more decadent experience.
Want to make your own pink custard? It’s simpler than you think:
- 1 x 35g sachet of strawberry blancmange mix
- 2 tbsp white sugar
- 600ml (1 pint) full-fat milk
- Heat milk until hot (but not boiling), then whisk in the mix and sugar until thickened.
- Pour over warm chocolate concrete for an authentic school-dinner feel.
Updates to a Traditional Recipe
Although purists think that chocolate concrete should not be altered, modern varieties have become more and more well-liked. For an additional taste boost, some bakers incorporate chopped coconut, bits of white chocolate, or even orange zest. Others experiment with vegan or gluten-free versions, substituting plant-based ingredients for butter.
Whatever method you decide to use, chocolate concrete is proof that sometimes the simplest recipes yield the greatest happiness.
Restoring the Enchantment of School Days
There aren’t many recipes that are as straightforward and nostalgic as chocolate concrete. This recipe promises a crispy, cocoa-filled treat that is just as gratifying today as it was in school canteens decades ago, whether you’re baking it to relive childhood memories or to introduce it to a new generation. Therefore, why not prepare a batch, take a spoonful of custard, and reminisce?
FAQs About Chocolate Concrete
1. Why is it called chocolate concrete?
Because of its firm, crunchy texture, which sets solid like concrete as it cools.
2. Can I make chocolate concrete gluten-free?
Absolutely! Just swap plain flour for gluten-free flour in equal amounts.
3. How long does chocolate concrete last?
Stored in an airtight container, it remains fresh and crispy for up to 5 days.
4. What’s the best way to serve it?
Enjoy it on its own, dunked in tea, or paired with classic pink custard.
5. Can I use drinking chocolate instead of cocoa powder?
Yes, but it will produce a milder chocolate flavor and a lighter color.


